Introduction:
Streamlining processes helps improve efficiency and accuracy. One area where this can be especially helpful is in document signing. In this blog, our developers at Hike Branding will show you how to automate SignNow invitations using Typeform responses, Zapier Webhooks and the SignNow API. With this setup, every Typeform submission will automatically send a request for eSignature via SignNow, removing the need for manual work. You can also easily add specific fields like role and signature in the document content to ensure the correct information is captured. This easy automation allows your team to focus on other tasks while ensuring contracts are signed quickly and smoothly.
Automated eSignature Requests:
Every Typeform submission automatically triggers an eSignature request via SignNow, eliminating the need for manual intervention.
Custom Field Integration:
Easily add fields such as role and signature to the document to ensure accurate information is captured for each recipient.
Streamlined Workflow:
Automate the entire document signing process, allowing your team to focus on more important tasks without worrying about manual signatures.
Increased Accuracy:
Automation helps eliminate human errors that can occur when manually handling signatures and document fields, ensuring precise data capture.
Custom Email Notifications:
Customize the email messages sent to recipients when inviting them to sign a document, providing clear instructions and a personalized touch.
Platforms Used:
We used Typeform, Zapier and SignNow to automate the eSignature request process based on form responses.
Automation Process:
Typeform responses are captured by Zapier Webhooks and sent to the SignNow API, which automatically sends an eSignature request to the recipient.
Steps:
1. Typeform Setup:
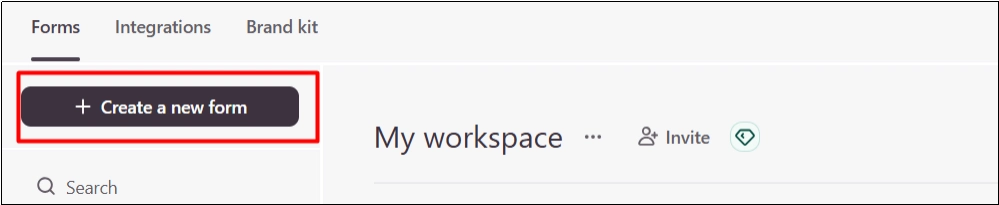
- Log in to your Typeform account.
- Click on the “Create New Typeform” button to start a new form.
- Add questions to form according to your needs.
- Customize the form settings

- After setting up the form, click “Publish” to make it live.
2. SignNow Setup:
- Log in to your SignNow account
- Go to the API menu and create a new application
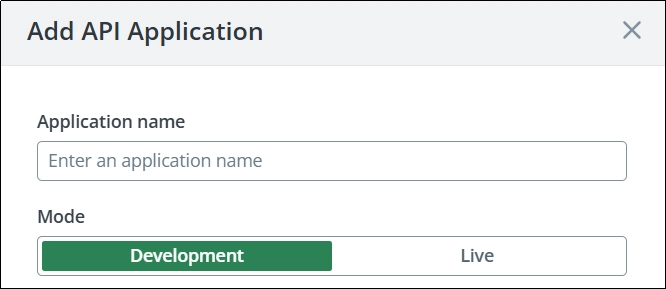
- Navigate to the API section and select Create Application.
- Provide a name for the application and an optional description
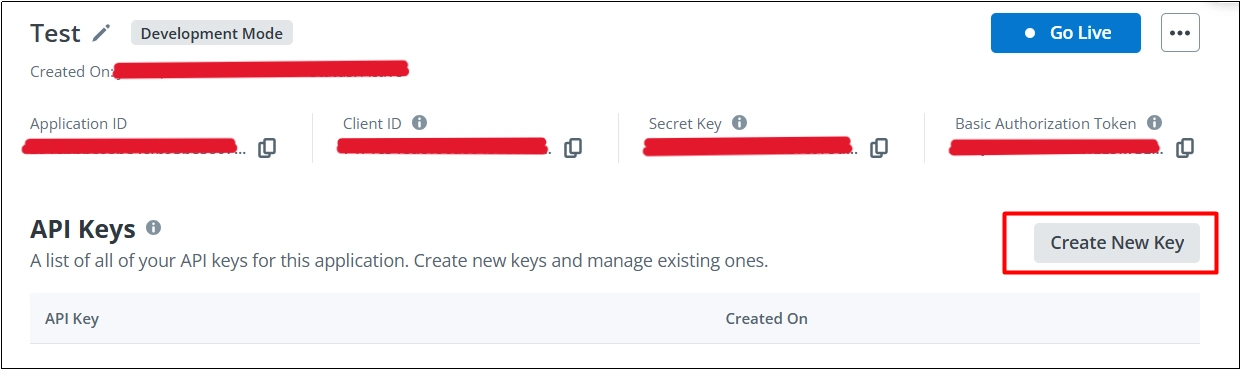
- After creating the application, open it and generate your API Key.
3. Zapier Setup:
- Log in to your Zapier account.
- Create a new Zap and select Typeform in the “Trigger” app section.
- Select the trigger event, such as New Entry.
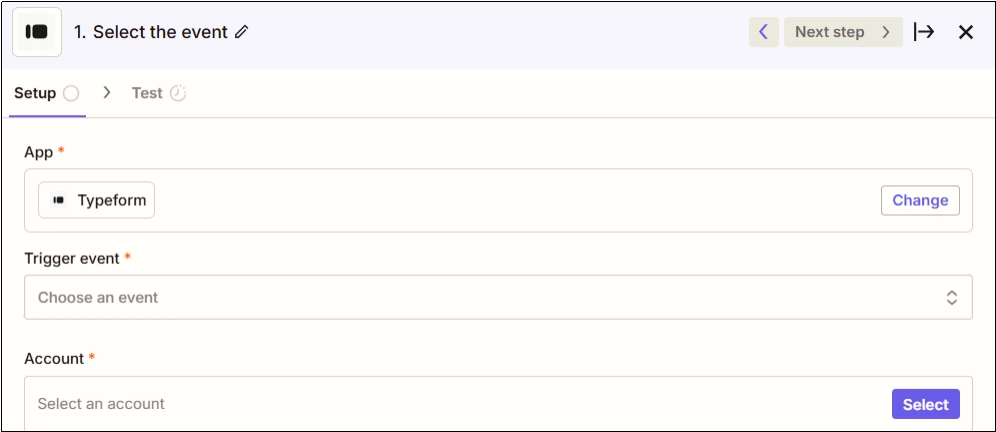
- Connect your Typeform account.
- Select the form you want to use for the Zap.
- Select Webhooks by Zapier in the Action step.
- Choose the Custom Request action event.
- Select the PUT HTTP method.
- In the URL section, enter the SignNow API endpoint URL.
- Add the existing SignNow document ID to the URL to specify the document.

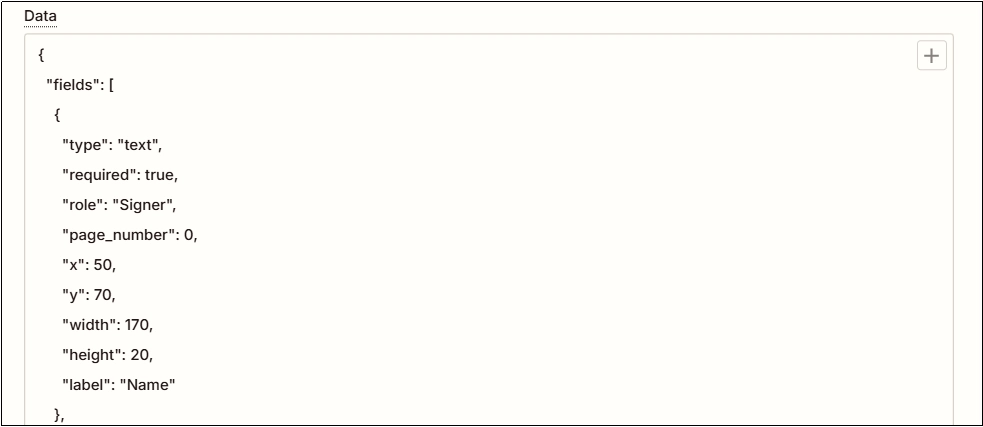
- In the Data section, add the field you want to include in the document.
- In the Header section, enter the following key-value pairs:
- Authorization: Bearer your_api_key_here.
- Content-Type: application/json.

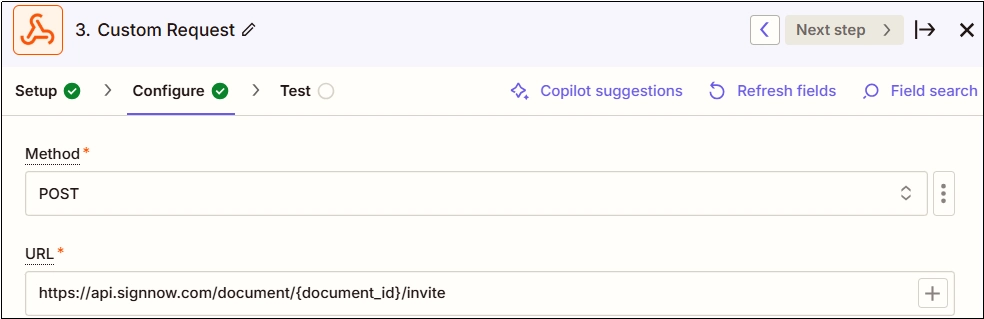
- Add another Action and select Webhooks by Zapier.
- Select the Custom Request action event.
- Choose the POST method in the Action Event.
- Enter the SignNow API URL and document ID in the URL section.
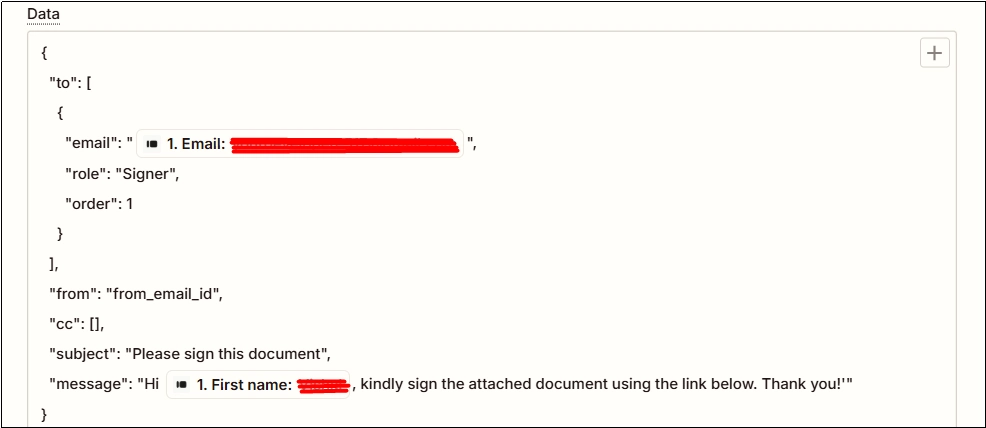
- Map the Typeform email for sending an invite to sign the document.
- Finally, set the header section as per the previous step.
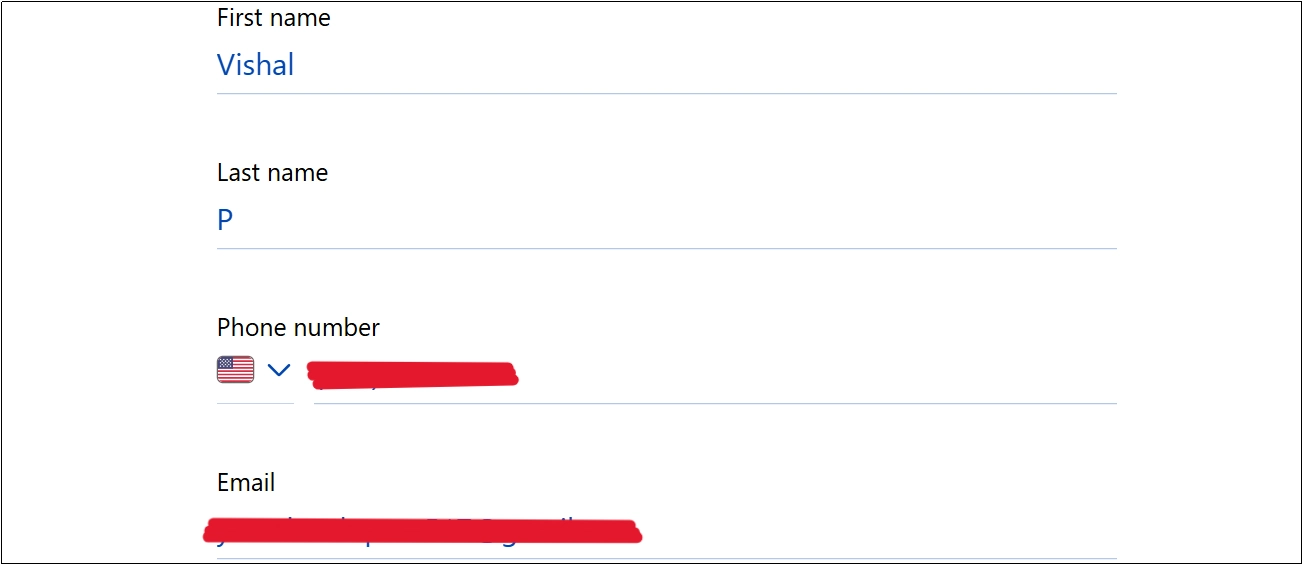
Results:
1. Typeform
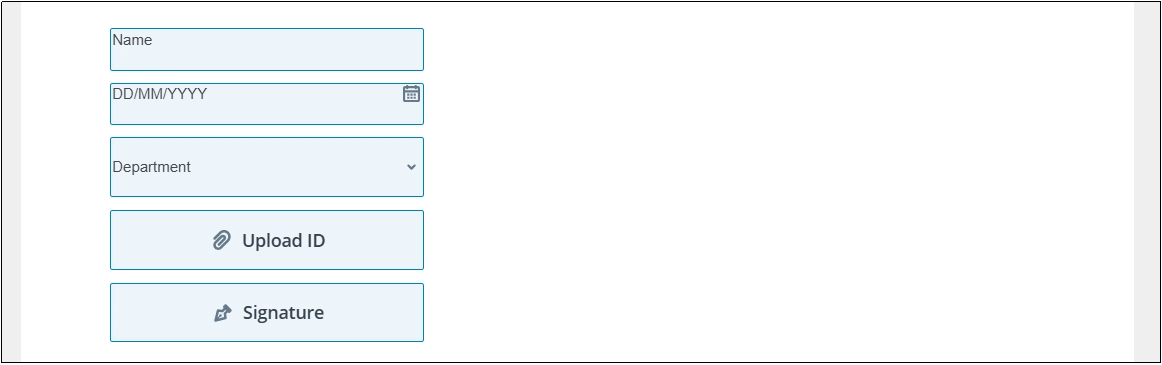
2. SignNow

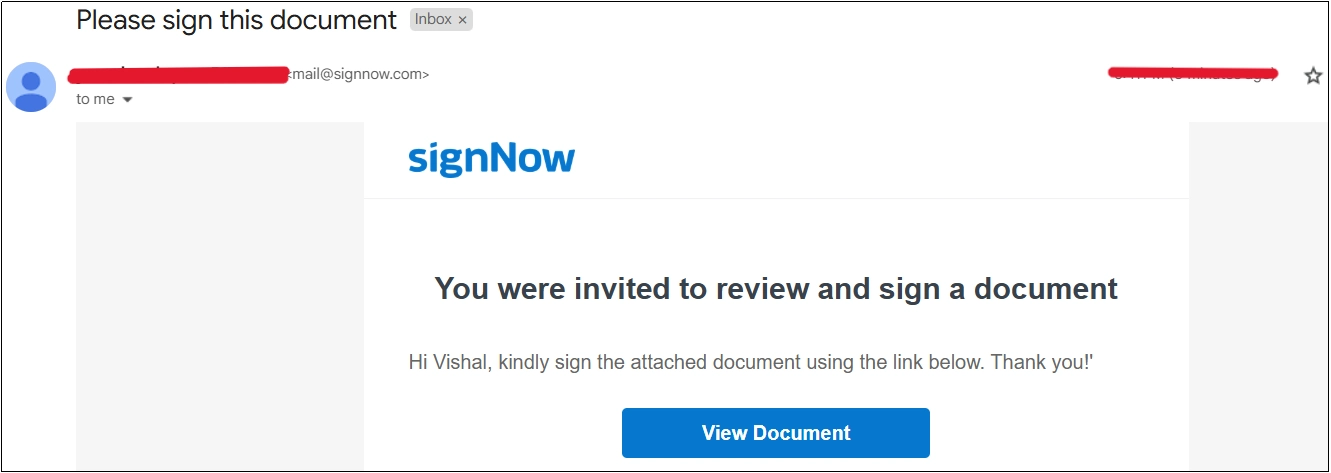
3. Gmail
Conclusion:
As explained by our HikeBranding developers, by automating SignNow invitations using Typeform, Zapier Webhooks and the SignNow API, you can simplify your document signing process. This integration eliminates the need for manual tasks, automatically sending eSignature requests and pre-filling fields such as role and signature. With this automation in place, your team can dedicate time to other priorities, while ensuring contracts are signed efficiently and accurately, boosting productivity and minimizing errors.