Introduction:
Managing tasks and staying in touch with your contacts can be challenging, but the right tools make it much easier. Professional at Hike Branding shall explain that by integrating ActiveCampaign with Zapier, you can automate the entire process from start to finish. When a task is added to a contact in ActiveCampaign, their details are sent to a Zapier webhook, saved in a sheet, and a tag is applied to the contact in ActiveCampaign. Then, an email is automatically sent to the contact through ActiveCampaign. This setup keeps your workflow streamlined and your communication on track.
Real-Time Data Transfer via Webhooks:
Uses ActiveCampaign webhooks to instantly send contact and task data to Zapier for processing.
Auto-Tagging Contacts:
Automatically applies a tag to the contact based on the task, helping you segment your audience and trigger additional automations if needed.
Email Notification Through Automation:
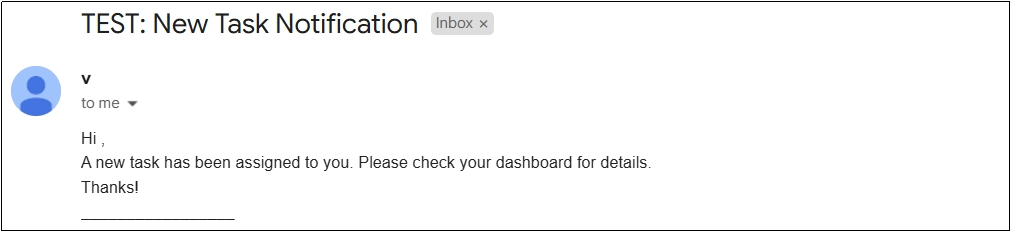
Sends task notifications to the contact using ActiveCampaign automation, ensuring timely and consistent communication.
Error Reduction and Consistency:
Automation minimizes human error and ensures that every contact receives the same structured communication related to their task.
Custom Conditions and Filters:
Set conditions in Zapier to filter which tasks trigger the automation, allowing for more precise and tailored workflows.
Platforms Used:
This setup uses ActiveCampaign, Zapier, and Google Sheets to automate task notifications and update contact records based on task creation.
Automation Process:
When a task is added in ActiveCampaign, a webhook sends the contact data to Zapier, which logs it in Google Sheets and applies a tag to the contact. This tag triggers an ActiveCampaign automation that sends a task notification email.
Steps:
1. ActiveCampaign Setup:
- Log in to your ActiveCampaign account.
- Go to the Developer section under Settings.
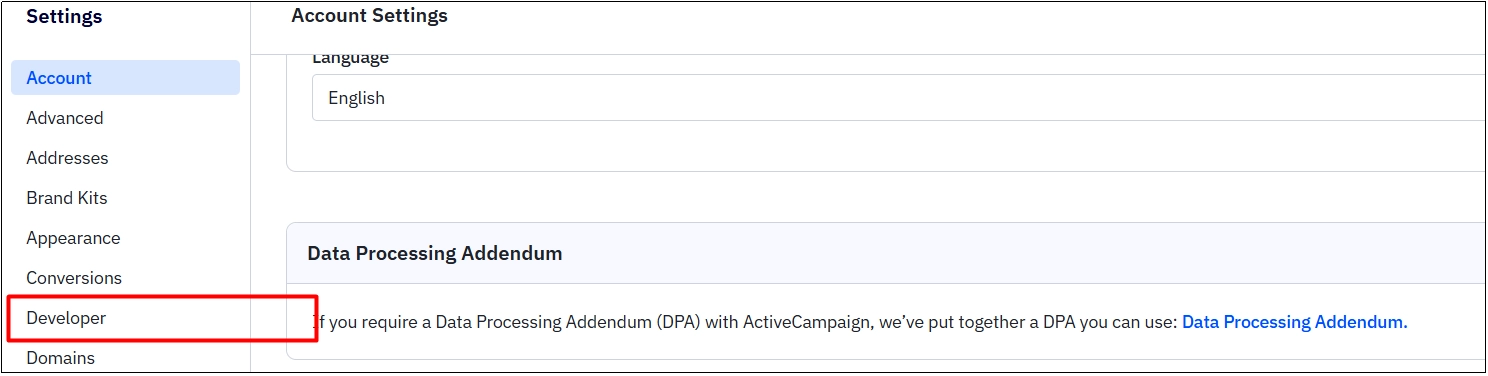
- Click on Manage Webhooks, then click Add New Webhook.

- Enter the Webhook Name, Webhook URL, and select the desired List.
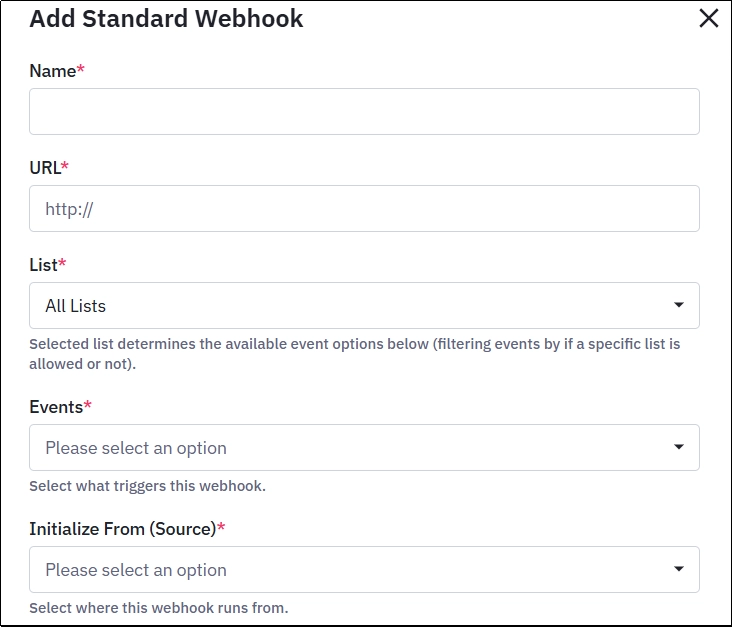
- In the Event dropdown menu, select “Contact Task Added”.
- Choose the appropriate option from the “Initialize From” dropdown, then click Save.
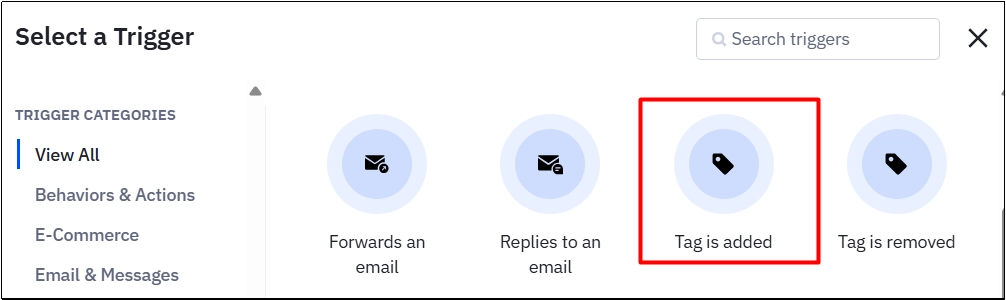
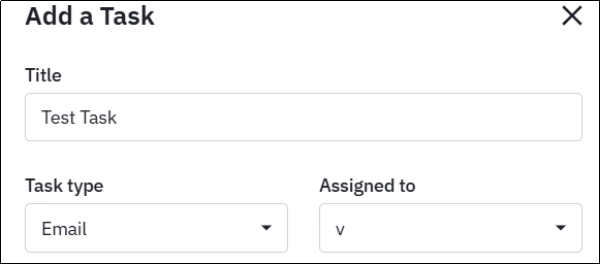
- Go to the Automation menu and create a New Automation.

- Select “Tag is Added” as the trigger.
- In the Action step, choose the tag you want to add.
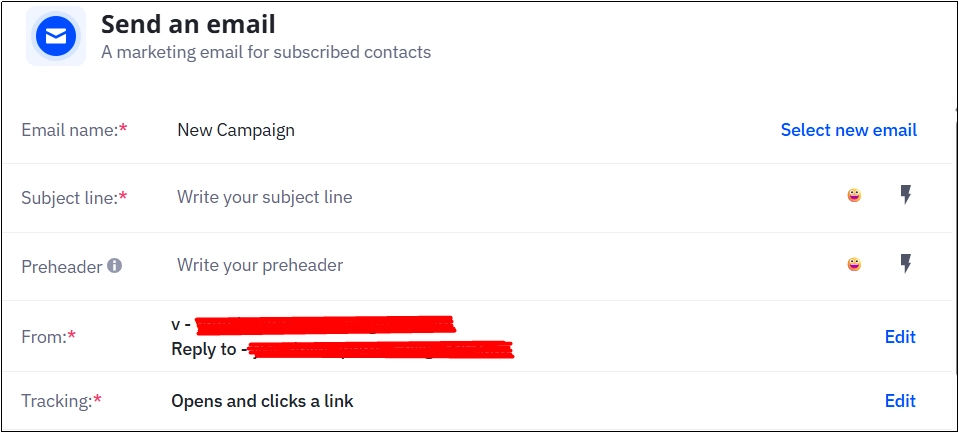
- Select “Send an Email” as the action step.
- Add the email subject and body content according to what you want to send.
- Click Save and activate the Automation.
2. Zapier Setup:
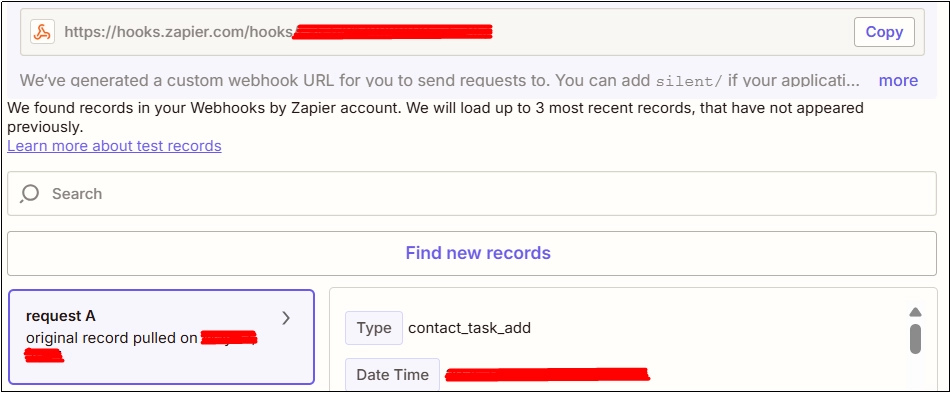
- Create a new Zap and set Webhooks by Zapier as the trigger app.
- Select the “Catch Hook” trigger option.
- Copy the Webhook URL generated by Zapier.
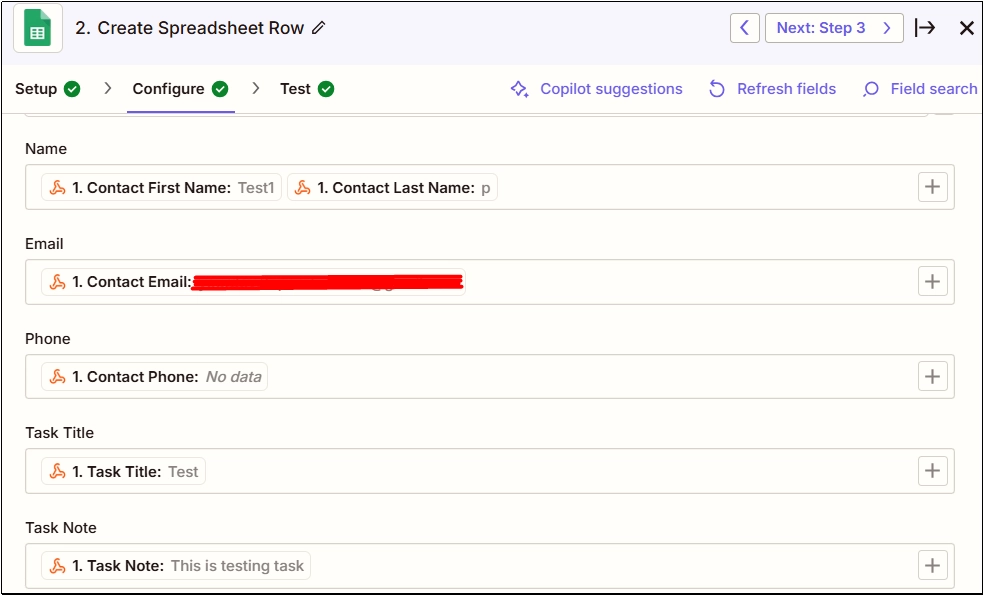
- Add action and select the Google Sheets app.
- Connect your account and select the appropriate Action Event.
- Map the Webhook fields to the corresponding Google Sheets fields.
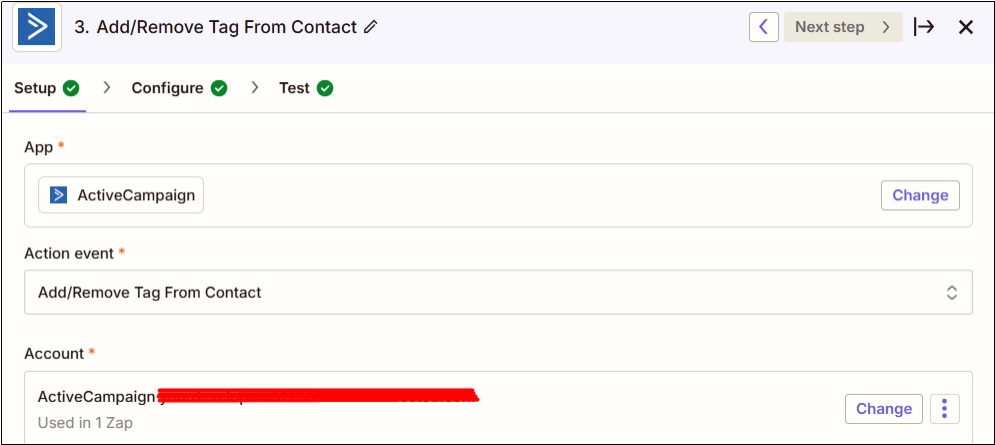
- Add another action and select the ActiveCampaign app.
- Connect your account and select the “Add/Remove Tag” action event.
- Map the Contact ID field and choose “Add” in the Action dropdown menu.
- In Existing Tags, select the tag from ActiveCampaign.
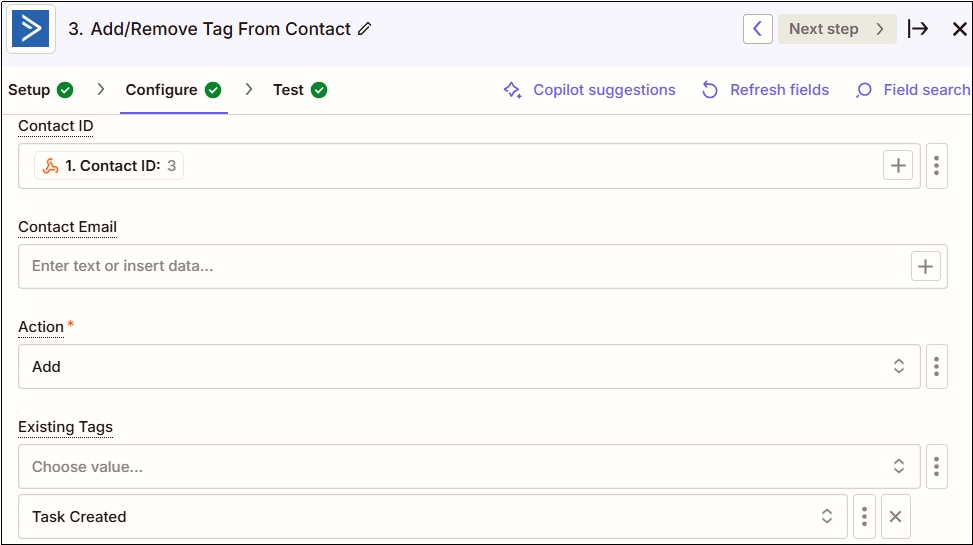
- Select the tag you want to apply to the ActiveCampaign contact.
Results:
1. ActiveCampaign

2. Zapier Webhook
3. Google Sheet

4. Gmail
Conclusion:
As briefed by Hike Branding developers, this automated workflow between ActiveCampaign, Zapier, and Google Sheets simplifies task management and communication. It ensures that important updates are delivered promptly while reducing manual effort and minimizing human error. Whether you’re managing a team or working independently, this setup provides a reliable way to stay on top of your contacts and tasks.