
Introduction:
At HikeBranding, we are aware that automating customer relationship management (CRM) tasks is essential to save time and effort. Integrating Typeform and Keap with Zapier provides a simple yet powerful solution to streamline contact creation and enable personalized email communication. This automation helps maintain strong connections with leads and clients while minimizing manual work. In this article, our developers at HikeBranding shall walk you through the steps to set up an efficient workflow that automates contact creation in Keap and sends customized emails based on Typeform responses.
Seamless Data Capture:
Automatically collect and transfer data from Typeform to Keap without manual intervention.
Personalized Email Communication:
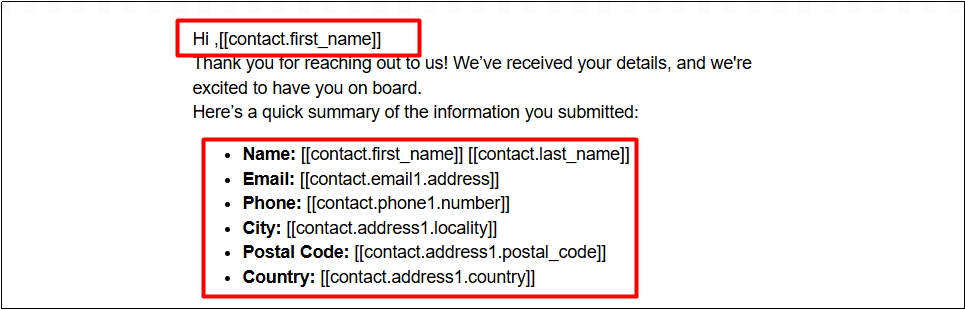
Automatically send tailored emails to each contact based on their form responses.
Real-Time Updates:
Sync new contacts instantly so your database is always up to date.
Automated Follow-Ups:
Set up follow-up email sequences triggered by specific events or responses.
Error Handling and Notifications:
Get notified if a step in the automation fails so you can quickly resolve issues.
Advanced Filtering Options:
Set conditions to send emails only to specific contacts or based on certain responses.
Platforms:
For this automation, we integrated Typeform, Zapier and Keap to streamline the process of contact creation and email personalization.
Automation Process:
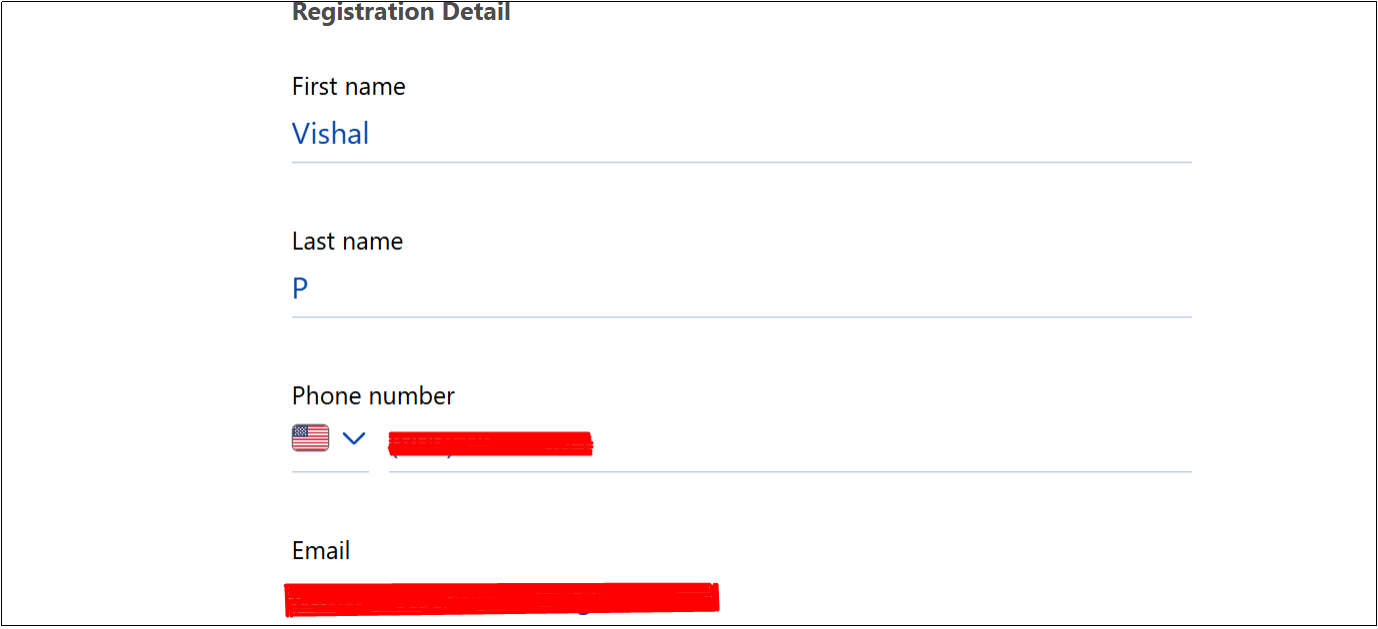
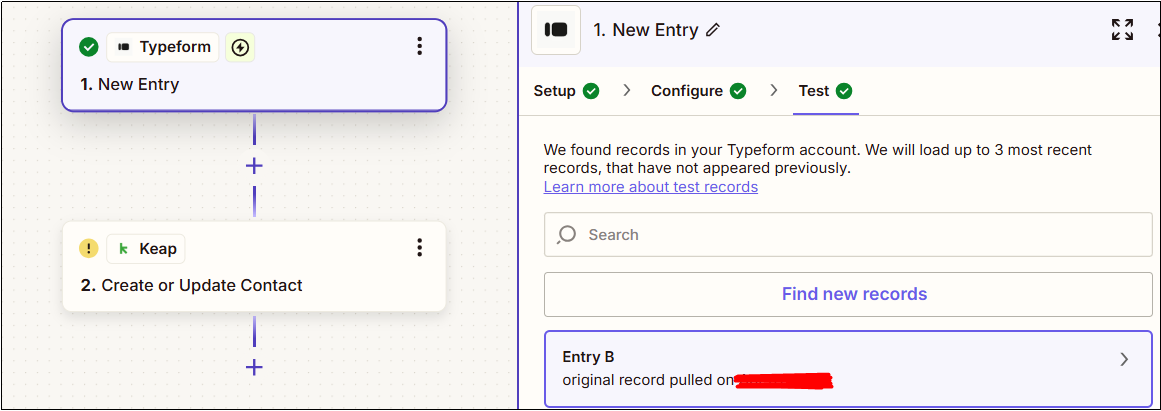
The automation process begins when a user submits a Typeform, triggering Zapier to capture the response. Zapier then creates a new contact in Keap and sends a persomnalized email with custom field details.
Steps:
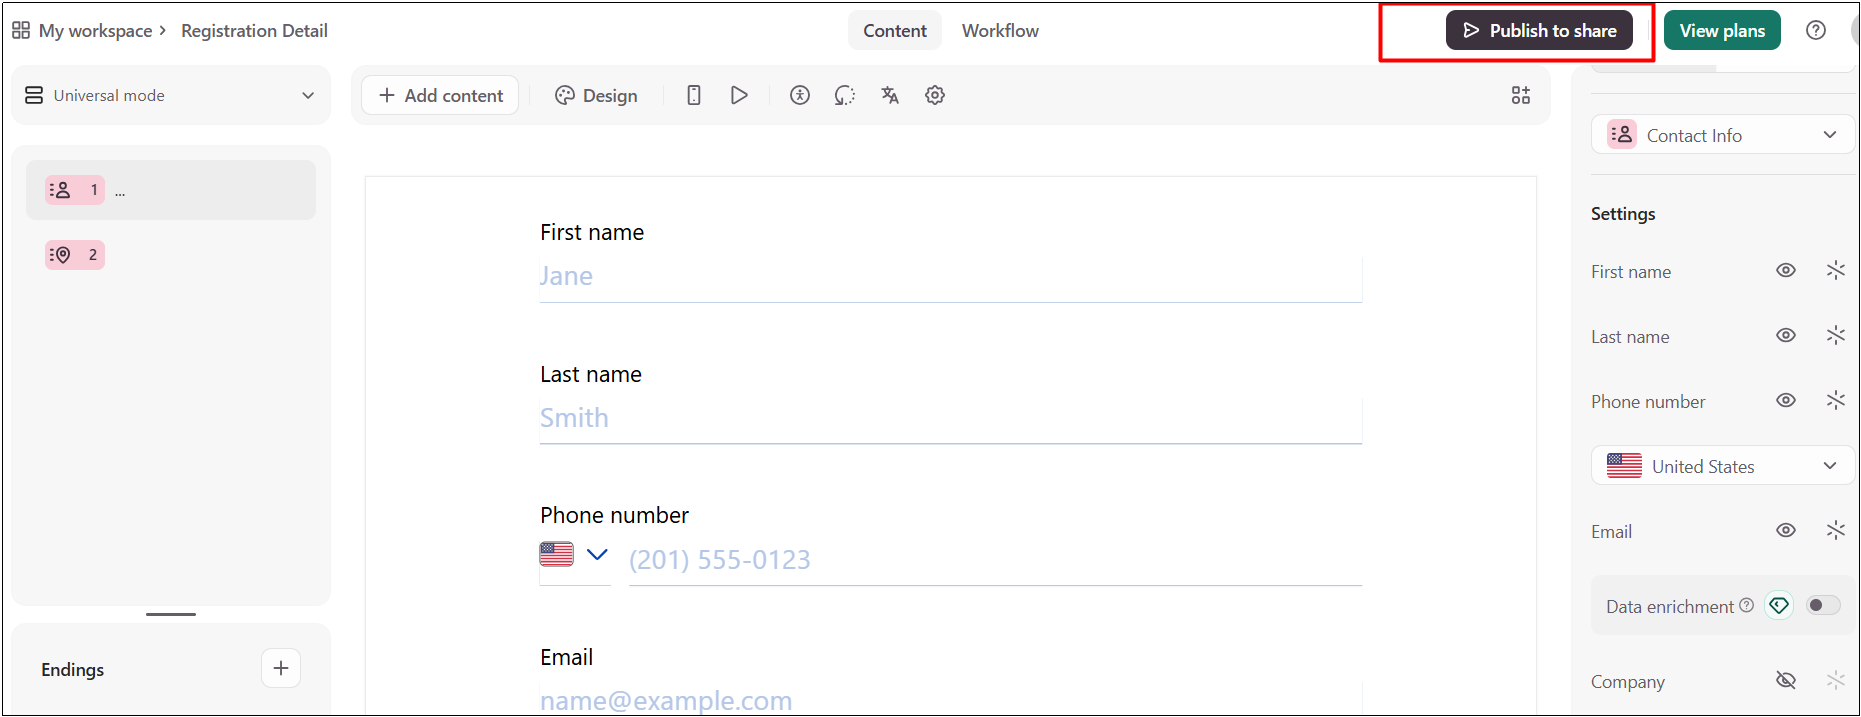
1. Typeform Setup:
- Log in to your Typeform account.
- Click on “Create a new form” to start the process.
- Select a template or choose “Start from scratch”.
- Add and customize your questions as needed.
- Once your form is complete, click “Share” to obtain the link to your form.
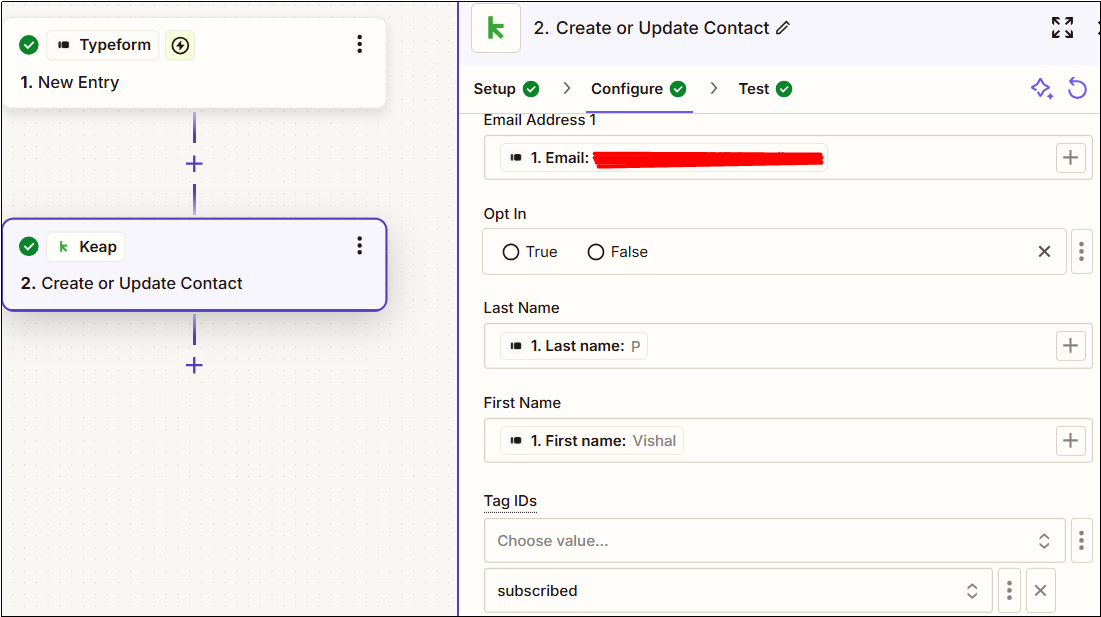
2. Zapier Setup:
- Log in to your Zapier account and create a new Zap.
- Set Typeform as the trigger app and choose the appropriate trigger event.
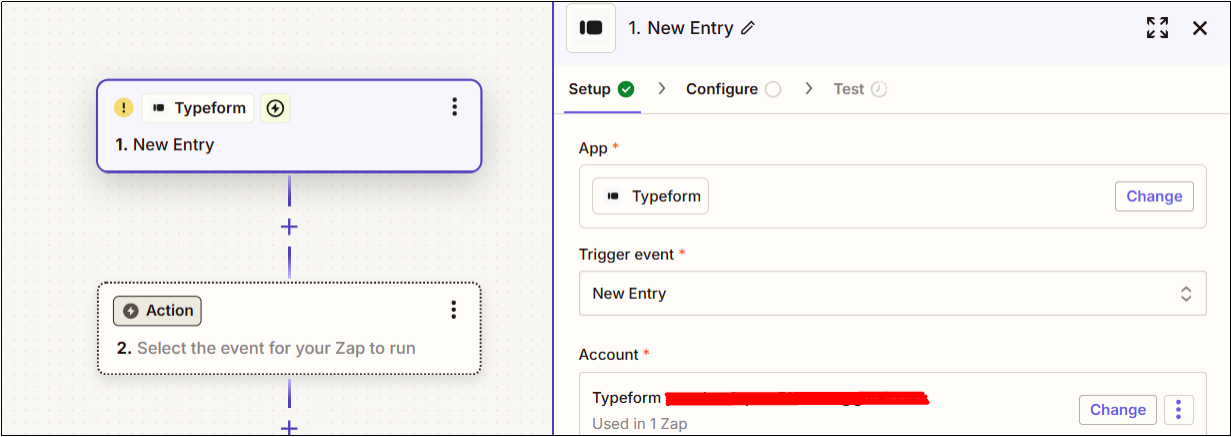
- Connect your Typeform account to Zapier.
- Select the specific Typeform you want to integrate.
- Map Typeform fields to the corresponding fields in the action app.
- Select the tag you want to apply.
- Publish the zap.
3. Keap Setup:
- Navigate to Settings and select Tags under the CRM section.
- Click Add Tag,then enter a tag name and description.
- Go to Marketing and choose Automation Builder from the top menu.
- Click Create a New Campaign and give the campaign a name.
- For the trigger step in the campaign drag “Apply Tag” from the sidebar into the workflow and select the tag.
- Drag the “Sequence” element into the workflow and add it after the tag.

- Add an email to the sequence and customize the content.

- Open the email template and add a subject line and email content.
- Click on the email body where you want to add the merge field.
- In the toolbar, click “Insert Merge Field”.
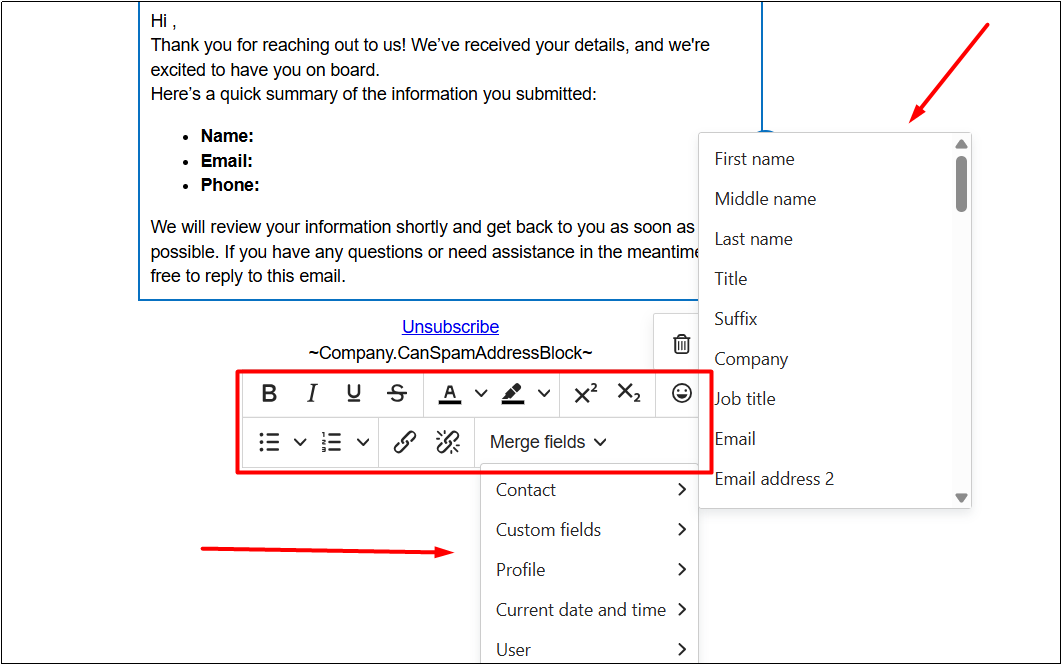
- Select the “Contact” merge field from the dropdown.
- Choose the field to merge and click “Save” to update the template.
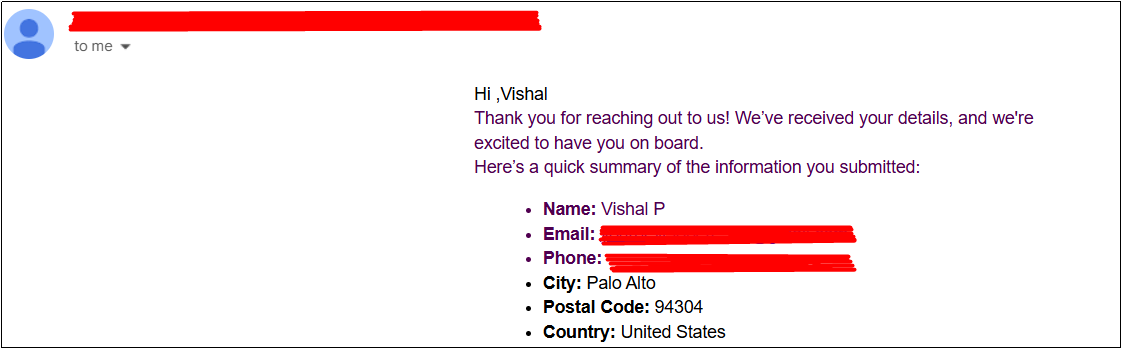
Results:
1. Typeform
2. Zapier
3. Keap
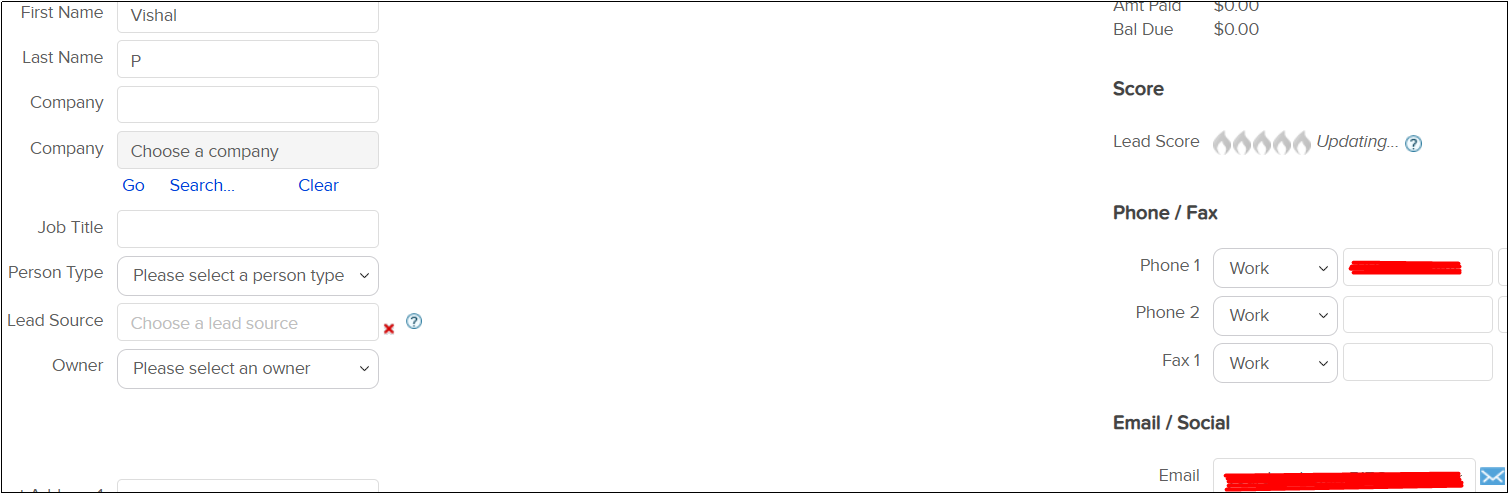
4. Email
Conclusion:
Integrating Typeform and Keap with Zapier offers a powerful solution to automate CRM tasks, saving valuable time and effort. By streamlining contact creation and enabling personalized email communication. This automation enhances customer engagement and helps foster stronger relationships with leads and clients. With the steps outlined in this article by our developers at HikeBranding, you can easily set up a seamless workflow that automates your processes and ensures timely, relevant communication, allowing you to focus on your goals.